
I am now the proud owner of my very own sewing machine, thanks to my mom's yard-sale-browsing skills. It is an older model and I haven't a clue how to go about even getting thread in the darn thing, but I will learn. In fact, I am going right now to add that to my list of goals for this year. (I suppose I should start scouring eBay for a user's manual that might tell me how to get started.)
In the meantime, I have found a way of exhibiting my love of fabric and my desire to make cute, crafty things for my girls to wear without the need for a sewing machine. No-sew appliques are a cheap and easy project, and I thought I would pass the idea on to anyone who might be interested.
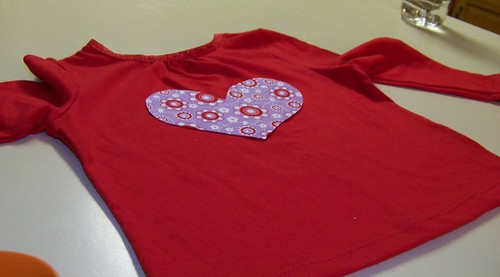
This week, I made Valentine's shirts for the girls. Here are the step-by-step directions, complete with pictures...
First, the materials....
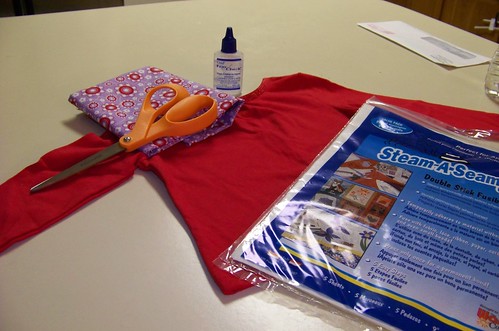
You will need:
-- fabric (a quarter-yard or less should be more than plenty for most projects)
-- the item you will be applying your applique to (I used a $3.50 red shirt from Wal Mart)
-- a good pair of scissors (I did not realize how important these were to fabric projects, but I now love my Fiskars scissors!)
-- double-stick iron-on transfer paper (I used Steam-a-Seam, but there are several brands available at craft stores or Wal Mart, etc.)-- Fray Check or other liquid fray guard (also available at craft stores or the craft section of Wal Mart)
-- The design you want to applique, unless you can draw it freehand (see below)
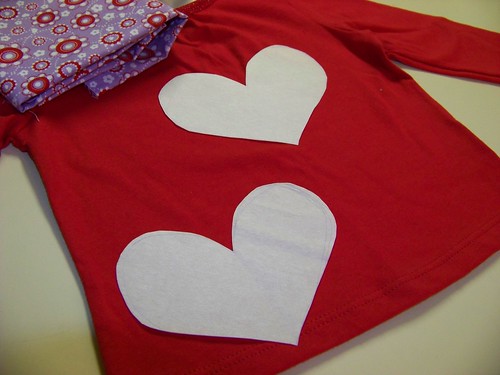
For my last project, I did the girls' initials and a double layer of fabric (the initial and circle in contrasting fabric). For that project, I printed the "A" and "M" in a font I liked, then used a copy maching to enlarge it to the size I wanted the letters to be on the shirt. You could use the same process for any simple design you can find a picture of online. This time, since I decided to just do a simple heart, so I drew it myself.
Step 1: Trace (or draw) your design onto the transfer paper.
One side of the paper will peel away from the sticky webbing easily...you want to draw on the section that is more securely stuck to the webbing.
Step 2: Cut out your design.
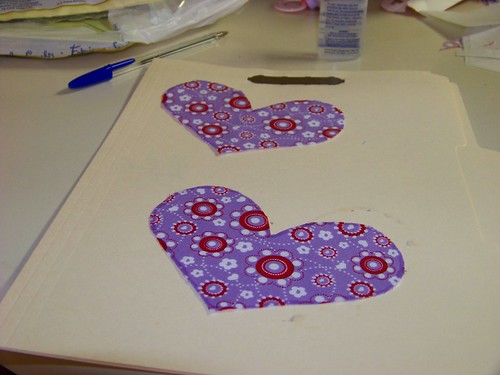
Step 3: Peel away one side of the paper from the sticky webbing (the side that comes away easily) and stick your fabric to your design. Using your iron-on paper as a guide, cut your design into the fabric. This is where the good scissors come in handy!
*Note--You can combine steps 1-3 by sticking the fabric to the transfer paper first, then cutting both together. I prefer to cut the paper first, where I can more easily make adjustments to the shape before I start working with the fabric.
*Note--You can combine steps 1-3 by sticking the fabric to the transfer paper first, then cutting both together. I prefer to cut the paper first, where I can more easily make adjustments to the shape before I start working with the fabric.
You are now left with fabric attached to the iron-on transfer paper in the shape of your design:
Step 4: Apply a coating of Fray-Check liquid fray guard to the outer edge of the fabric. It will turn the outside edge a little darker for awhile (you can probably tell in the picture below), but this won't be noticed once it dries.
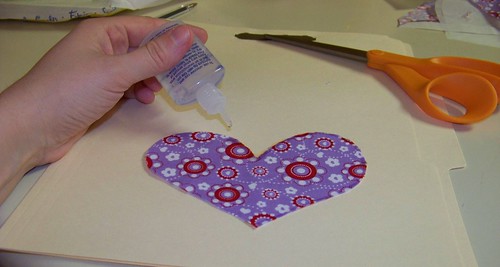
Step 5: Allow the fray guard to dry for about 15-20 minutes, then trim any stray fibers so you are left with a fairly smooth edge to your applique. If I trim more in a certain area, I might apply a second coat of fray guard to that spot.
The hardest part is done now! : )
Step 6: Arrange your applique on the shirt to get the placement the way you want it. When you have it in the right spot, peel away the remaining side of the transfer paper and stick the applique to the shirt. (It will be sticky enough to hold its place, but can still be easily moved if you need to adjust.)

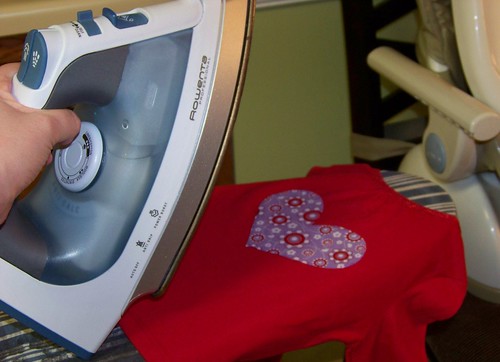
Step 7: Iron! After making sure your applique is positioned exactly as you want it, press firmly over the design with a steam iron for about 30 seconds.
And...ta-daaa! There you have it. Easy-peasy, right?
In fact, you just might find that the hardest part of the whole project
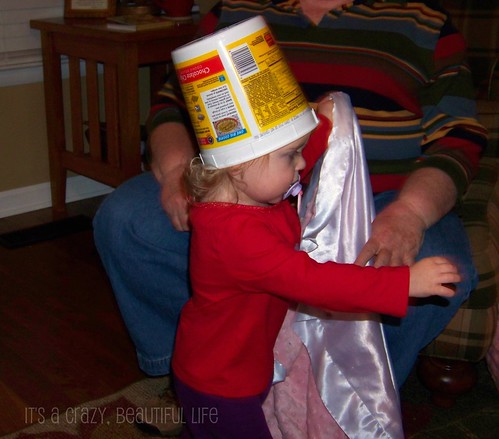
is getting a good picture

of your models.
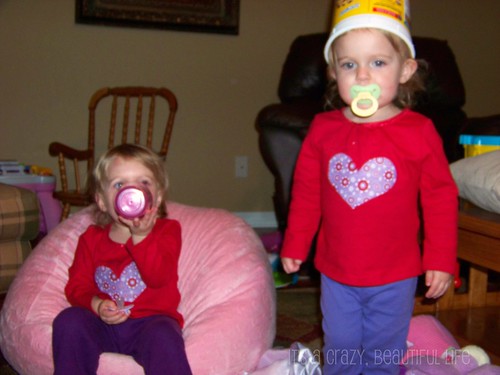
Or maybe that's just me.
So creative & crafty. Love it! Good job!
ReplyDeleteyea! thanks for sharing!!
ReplyDeleteIf you want to send me a picture I can send you a diagram of how to thread it. I'm sure you can pick up the rest from there.
ReplyDeleteI think I am heading out to make the girls valentine's shirts too! Thanks for the tutorial!!
Deanna, those are adorable!!! I so want to take the time to make Ava some.
ReplyDeleteLook at you go, good job! I would so burn something if I did that. :(
ReplyDelete